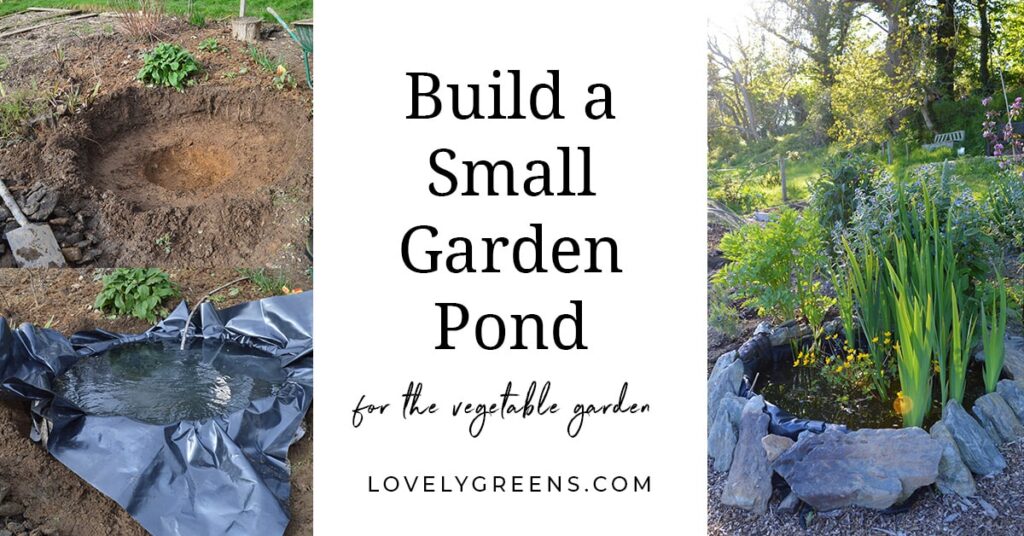
Tips on how to build a small pond to attract frogs and other wildlife to the garden. Includes information on placement, size, materials, and maintenance.
Organic gardening can be challenging, especially when it comes to slugs. You can pick them off individually, set up beer traps and wool pellets, but most people resort to slug pellets. They are so much easier and more successful to use. Unfortunately, they can be deadly to pets and wildlife like hedgehogs and birds. There is another way to tackle the slug problem more naturally: build a small garden pond. Build it and they will come. That’s frogs.
A garden pond attracts all kinds of wildlife, especially the type that loves to eat slugs. Frogs are voracious insect hunters, including weevils, and they will devour the slugs in your garden too. It’s also a lot of fun to watch them swim and fill the garden with life. They don’t eat any of your vegetables either.
Update from 2019
I built the pond you will see in this DIY idea three years ago. Since then, it has become one of the most important features of my garden. Every year, around Valentine’s Day, it fills with frog spawn (eggs), and over the weeks it becomes a mix of little tadpoles, water snails, and other aquatic creatures. They all moved in by themselves.
My latest addition to the pond is a small solar fountain that has been happily aerating the water for a few months. Because I don’t have an electric source, it’s the best option I could think of to replace a pump. I still have to manually pull weeds from the pond, but to be honest, the pond is a wonderful life structure that fills my garden with life. If you want to see regular updates and videos of the pond as it is now, check out the garden tours I post on my YouTube channel.
A haven for wildlife
The idea of a wildlife pond came to me while I was tidying up a flower border. I accidentally disturbed a big frog, then helped it back into the hedge. I don’t know why I was surprised to see it there, as there was a water basin nearby that had been there all summer. This Eureka moment helped spark ideas for building a specially designed frog pond in the vegetable garden.
I will share how I built mine a bit later, but I want to share the most exciting news. There were frogs in my pond a few months after construction. They find it on their own in most cases, and all you have to do is build one and wait.
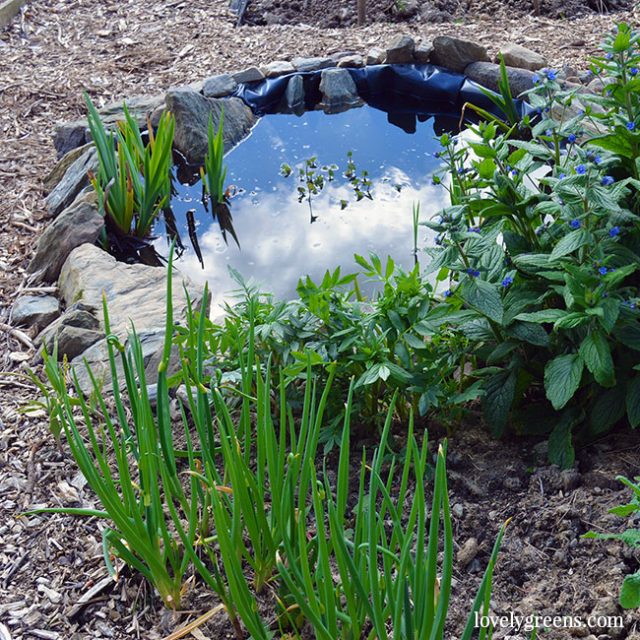
The pond two months after completion (April)
The pond is now three years old
I’m sharing this project several years after building the pond. That first year, I used an old plastic sheet for the liner, and you will see that in the video below. Unfortunately, it developed a puncture that first summer, and I replaced it a year after the initial construction. I attribute this to the stones I used to fill the bottom, so keep that in mind when building yours.
Since then, the pond has been a lovely little gem in my vegetable garden. I have tadpoles and frogs in it every year, birds come to drink, and my bees also drop by for a sip. Honestly, I couldn’t recommend any other feature to put in a veggie patch than a small wildlife pond.
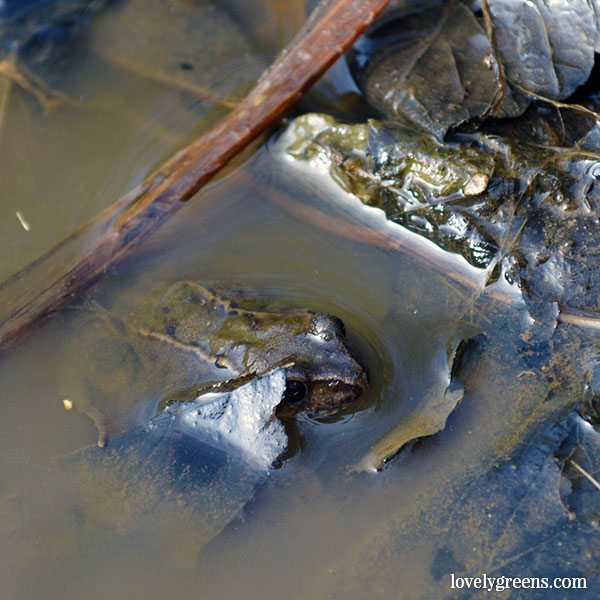
A frog living in my wildlife pond
Where to build a small pond
You can create one at any time of the year, but I think it’s a great project for early spring. First, you will need to choose the location of your pond. It should have a good amount of sunlight (4-6 hours a day), and preferably in a flat area of the garden. Keep it away from trees as their leaves will become a nuisance in the water. Not to mention their roots when you try to dig the pond.
You should also take precautions if you have small children or a social space nearby. If you have little ones, they will naturally be curious about the pond. Any type of water can be dangerous, so make sure it is fenced off.
Depending on your area, ponds could be a place where mosquitoes can breed. If you are concerned, keep the pond away from your seating area and patio and consider investing in a pond pump and fish.
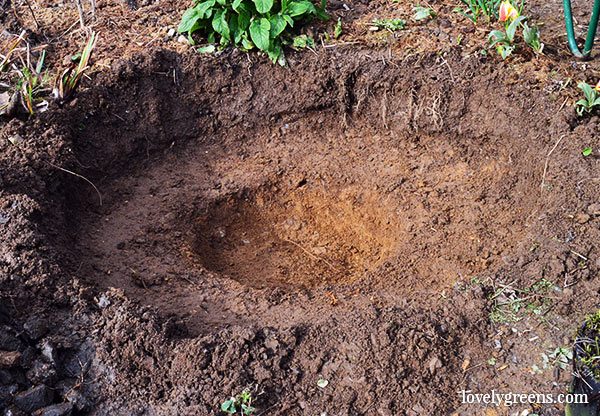
The hole for the pond includes a deeper center where frogs and tadpoles can hide
Size and depth of wildlife ponds
Size matters when it comes to ponds. They should be deep enough for fish and frogs to hide from predators and shallow enough for aquatic plants. If you live in a cold area, you may need a deeper pond to prevent it from freezing solid. Something to really consider for frogs and fish.
Small garden ponds tend to have two or three depths — shallower areas for placing plants, and a deeper area where animals can hide. The shallow surface for plants is usually one foot deep and the rest of the pond is 2-3 feet deep depending on your area.
Because you need to accommodate these two depths, the width of a pond should be at least three feet. The more, the better, and mine is four feet in diameter.
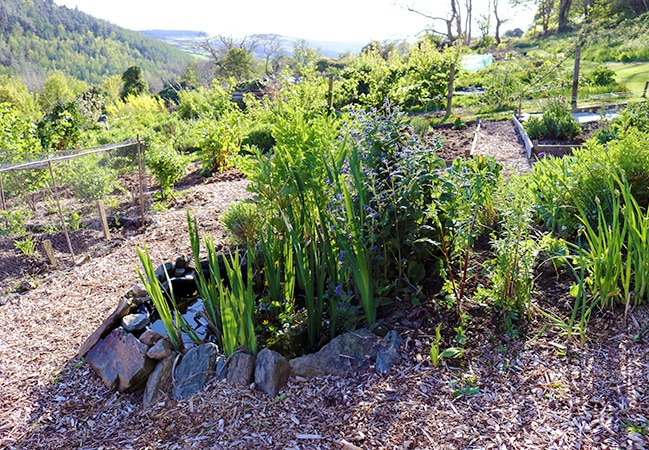
My three-year-old pond is in the middle of my vegetable garden
Planning the pond site
It’s quite easy to build your own wildlife pond. First, make a plan on the ground where you intend to build it. Use flour or cornmeal for an eco-friendly solution. Imagine where the shallow areas and deeper areas will be. Most people choose to have the deeper area in the middle of the pond. This makes it safer for children who may visit and also creates a little safe corner for wildlife to hide from birds and other predators.
Now it’s time to start digging and building the pond. You will need these materials and tools:
- A spade and/or a shovel
- Underlayment
- Pond liner
- Aquatic plants
- Solar pond pump
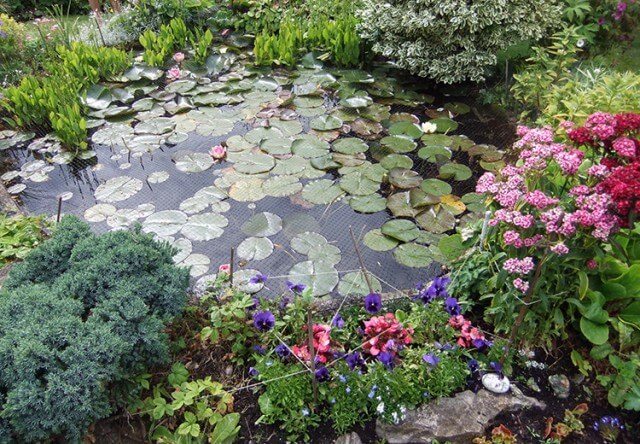
A lovely pond with traditional lily pads that I spotted during a garden visit
Building your own small pond
Dig your pond so that the edges slope gently, if possible. Your pond will need an access area for frogs and other creatures to enter and exit. A natural slope from the water’s edge is the best solution.
When the hole is dug, make sure there are no stones or sharp objects that could puncture the liner. Then, tamp down the soil to create a firm surface. Spread the underlayment layer over the hole. This soft material provides extra support to the pond liner and reduces the chances of punctures. Unfold the pond liner and lay it on top so that its edges overlap by a good foot or two. Do not cut the edges until the very end of this project. Also, the plastic will be wrinkled and look messy, but it will sort itself out in the next step.
Fill the pond with water, and you will be amazed at how the liner conforms to the hole you made. The next step is to wait 48 hours for the pond to settle and for the chlorine in the water to evaporate. After that time, you can cut the edges of the plastic liner and describe the pond with stones and/or pebbles. The aquatic plants can go in next, and the ones I have in my pond are flag iris, a papyrus, and a marsh marigold. There are plenty of choices.
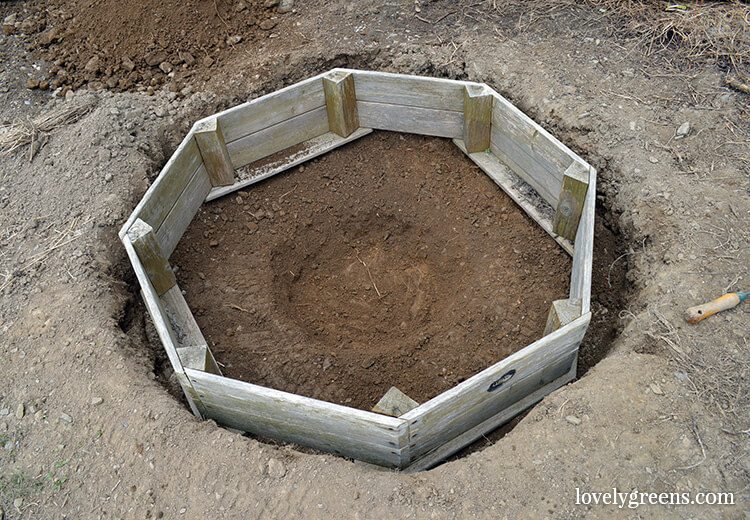
I used a wooden frame to create my pond on a slope
Creating a wildlife pond on a slope
I’m 100% about making garden projects on the cheap, so I used what I already had to create my pond. The challenge for me was that I was building on a slope. I didn’t want to terrace and I didn’t want to buy a pre-formed liner. Getting one would be a good investment.
What I did was dig the hole for my pond in the shape of an old wooden garden bed frame. This frame is set into the hill with the top side up the slope and creates a raised pond edge on the lower side. Kind of like incorporating a bowl into the hill. Then, I lined the frame with the pond liner and I highly recommend getting a specially designed liner. I didn’t do it the first time, and you know the saying — buy cheap, buy (and spend double the labor time) twice.
Although you see a lot of rocks in my pond in the video below, I used a lot less after putting in the new liner. Just a few big rocks to provide shelter for wildlife and one large one to create a spot for frogs to crawl out of the pond.
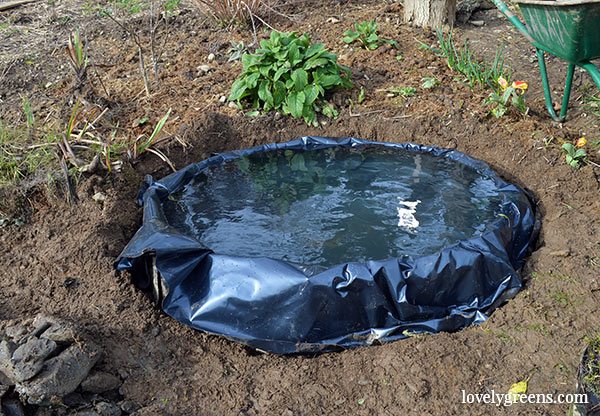
It’s cost-effective to invest in a decent quality liner
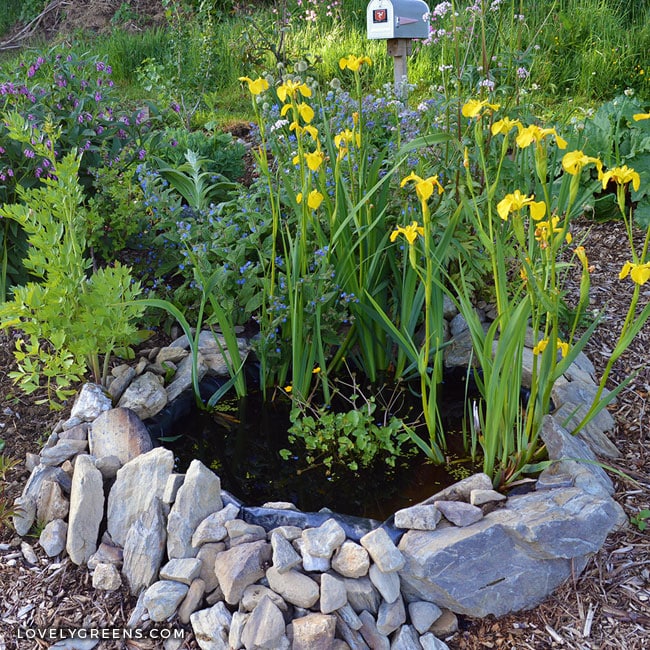
A lovely garden that is ideal for wildlife.
Pond maintenance
Even if you have installed a water pump, your pond will need maintenance. Visiting birds will bring pond grass on their feet and it will colonize your pond too. Leaves and other materials will also fall into the water, rotting and depriving the water of oxygen.
With my small pond, I tend to clean it a little throughout the year. I will reach in to remove the covering grass or skim the surface to remove a lot of the duckweed. I place it on the edge of the pond for a few days before putting it in the compost pile. This gives aquatic animals time to find their way back into the pond.
The best time for a complete pond clean-up is in the fall. This is after many leaves on the neighboring trees have fallen, but before the animals are dormant in the lower levels of the pond. Pull out excess leaves and debris from the bottom and release some of the water with other pond scum.
When you refill the pond, do it gradually and with drinking water. This can be rain barrels or containers filled and left aside for at least a few days. Remember that chlorine can kill frogs and other pond creatures.
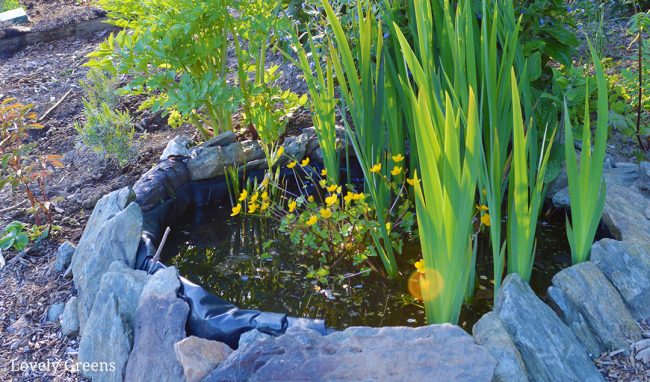
The pond at the beginning of April, with flag iris and marsh marigolds blooming in the
CenterRead more at tropheesdelamaison.com